
best fudge recipe chocolate easy is really about one thing: getting that classic smooth, creamy bite without a candy thermometer, without stress, and without guessing when it “looks right.” This guide gives you a reliable base recipe, plus the small choices that usually decide whether fudge turns silky or sandy.
If you’ve had fudge turn grainy, too soft to cut, or weirdly sticky the next day, you’re not alone. Fudge is simple on paper, but it’s sensitive to heat, stirring, and even how you cool it. The good news, most failures come from a couple predictable points you can control.
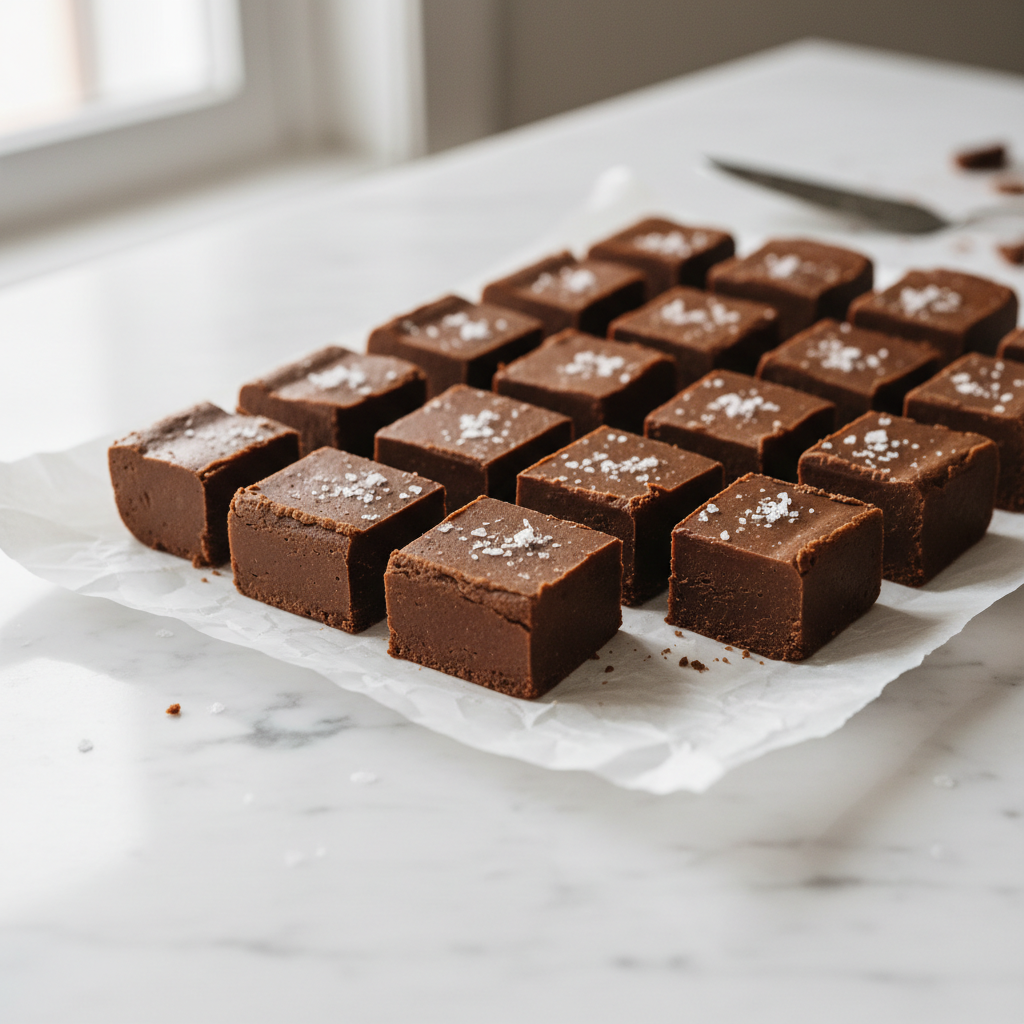
One quick note before we cook: there are two “schools” of chocolate fudge. One uses cocoa plus dairy and sugar, the other leans on chocolate chips and sweetened condensed milk. Both can be great, but the condensed milk style is usually the easiest path to consistent texture, which is what most people want when they search for an easy chocolate fudge.
What makes fudge fail (and how this recipe avoids it)
Most fudge problems trace back to sugar crystallization or moisture imbalance, which sounds technical but shows up as very normal complaints like “it’s gritty” or “it won’t set.” Here’s what tends to cause trouble in real kitchens.
- Over-stirring while hot: Stirring aggressively during boiling can encourage crystals. You want gentle, purposeful mixing, not constant whisking.
- Overheating chocolate: Chocolate scorches easily, especially in thin pans. Low heat and a heavy-bottom pot matter more than fancy tools.
- Rushing the cooling step: Fudge sets as it cools. Cutting early or chilling too fast can lead to sticky edges and a soft center.
- Ingredient swaps without adjusting: “Evaporated milk” is not the same as condensed milk, and low-fat substitutions can shift the texture.
According to USDA Food Safety and Inspection Service, candy and confections should be handled with clean tools and stored properly to reduce spoilage risk, especially in warm environments. Fudge is high in sugar, but dairy still means storage choices matter.
Quick self-check: which fudge approach fits you?
If you want the best fudge recipe chocolate easy experience, match the method to your goal instead of forcing one style to do everything.
- You want the easiest, most consistent fudge: go with condensed milk + chocolate chips (the main recipe below).
- You want old-school “cook and beat” texture: consider a stovetop sugar method, but expect more precision and a slightly higher fail rate.
- You want a softer, truffle-like bite: add a little extra butter or reduce chill time, but accept it may slice less cleanly.
- You need tidy gift boxes and sharp edges: use a lined square pan and give it full time to set before cutting.
Ingredients and tools (simple, but choose them on purpose)
Easy fudge doesn’t mean “any random chocolate works.” The ingredient quality mostly shows up in how smooth it feels and whether it sets firm enough to slice.
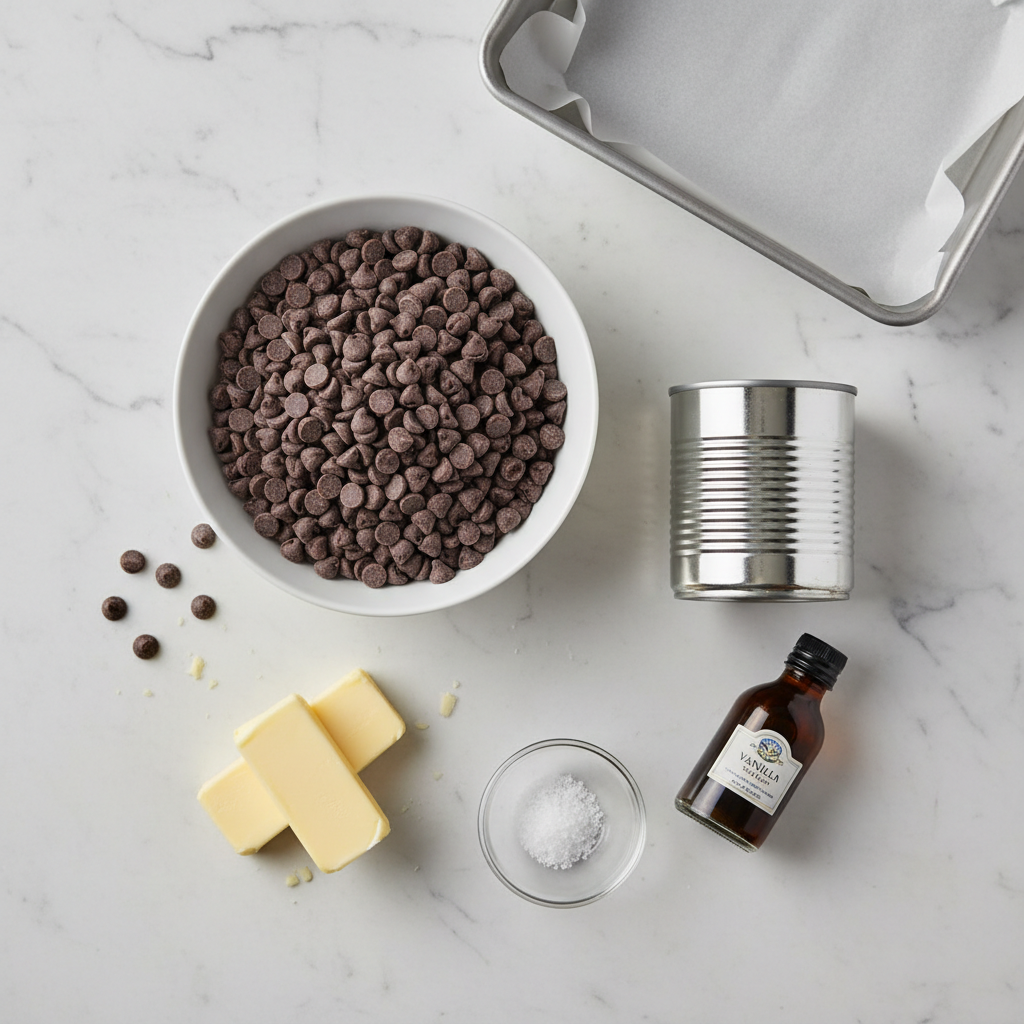
- Semi-sweet chocolate chips: dependable sweetness and melt behavior. If using bars, chop finely.
- Sweetened condensed milk: this is the base. Do not swap evaporated milk unless you change the whole method.
- Unsalted butter: rounds flavor and helps the bite feel creamy.
- Vanilla extract: optional, but it makes chocolate taste more “finished.”
- Salt: a small pinch keeps it from tasting flat.
Tools you’ll actually use: a heavy saucepan, rubber spatula, 8x8 pan, parchment paper, and a sharp knife. A thermometer is optional here, which is part of why this fits “easy.”
Best easy chocolate fudge recipe (2026-friendly, no thermometer)
This is a small-batch, weeknight-friendly version that still tastes “holiday-level.” It also scales well if you’re making trays for gifts.
Ingredients (8x8 pan, about 36 small squares)
- 3 cups semi-sweet chocolate chips
- 1 (14 oz) can sweetened condensed milk
- 2 tbsp unsalted butter
- 1 tsp vanilla extract
- 1/4 tsp fine salt (plus flaky salt for topping, optional)
Steps
- Prep the pan: Line an 8x8 pan with parchment, leaving overhang to lift later.
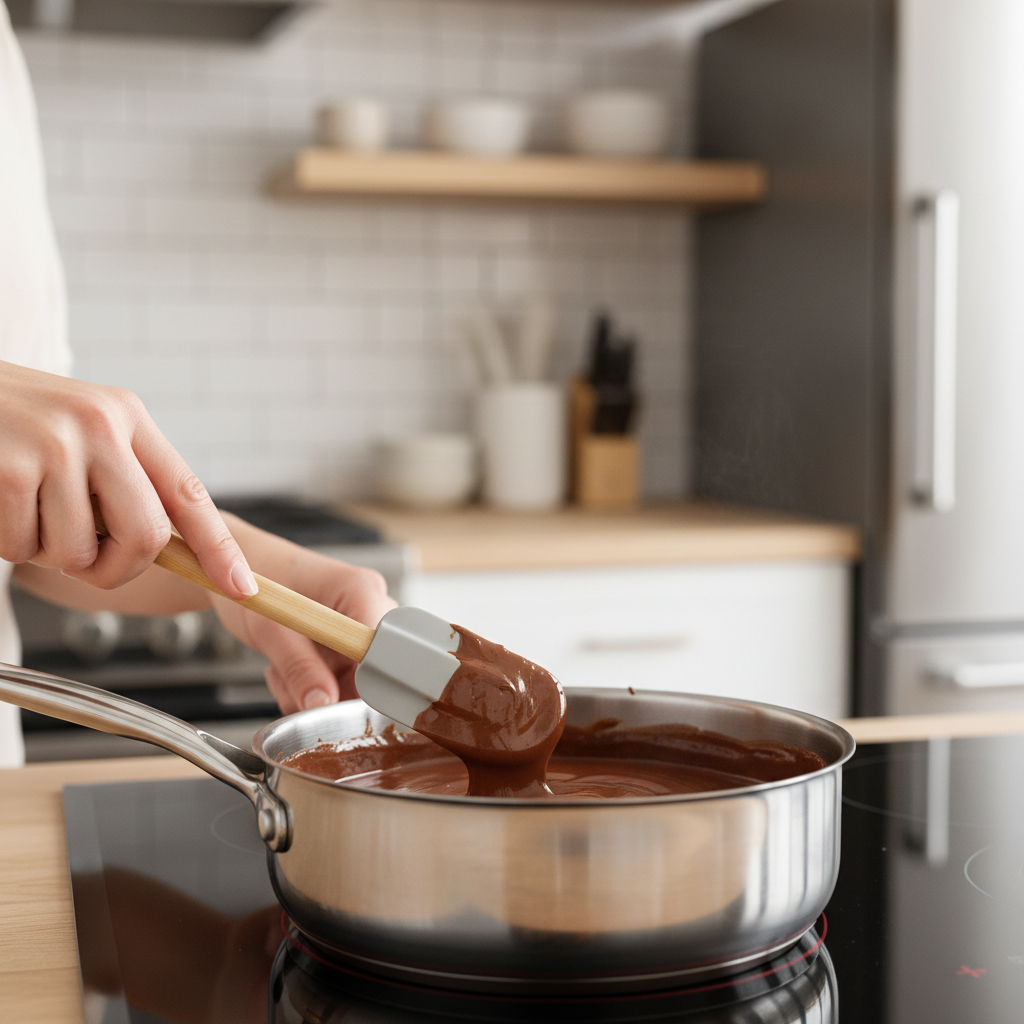
- Melt gently: In a heavy saucepan on low heat, combine chocolate chips, condensed milk, and butter. Stir slowly until fully melted and glossy.
- Finish flavor: Remove from heat, stir in vanilla and salt.
- Set: Spread into the pan, smooth the top, add flaky salt if you like.
- Chill: Refrigerate 2–3 hours until firm.
- Cut clean: Lift out using parchment. Warm a knife under hot water, wipe dry, then slice.
If your goal is “company-ready” texture, don’t skip the low heat. Many grainy batches start with heat that’s just a bit too high, and you only notice after it cools.
Timing, texture, and storage: what to expect (table)
Fudge is forgiving, but it has a personality. Use this as a reality check when you’re deciding whether it’s “done” or whether to store on the counter.
| Situation | What you’ll notice | What to do |
|---|---|---|
| Not fully set | Soft center, messy cuts | Chill 60–90 minutes more, then cut with a warm knife |
| Too firm | Hard bite straight from fridge | Let sit 10–20 minutes at room temp before serving |
| Sticky top | Glossy, tacky surface | Cover tightly; avoid warm, humid spots, serve slightly cooler |
| Storage (typical) | Best texture in first few days | Store airtight; refrigerate for longer keeping, bring to temp before serving |
According to U.S. Food & Drug Administration, perishable foods should not sit at room temperature for extended periods; if your kitchen runs warm or you’re gifting fudge, keeping it cool is usually the safer call. When in doubt, refrigerate and let it soften slightly before eating, and if someone has dietary restrictions or health concerns, it’s smart to suggest they consult a professional.
Practical upgrades and variations (without breaking the set)
Once you nail the base, tweaks are easy, but small changes can shift firmness. Keep add-ins modest, and fold them in off heat.
Easy add-ins
- Chopped toasted nuts (pecans, walnuts): 1/2 cup
- Mini marshmallows: 1 cup for a rocky-road vibe
- Peppermint: swap vanilla for 1/2 tsp peppermint extract, top with crushed candy cane
- Espresso powder: 1 tsp boosts chocolate flavor without making it taste like coffee
Chocolate choices that usually work
- Semi-sweet: balanced sweetness, safest for this method
- Dark chocolate: richer, slightly firmer, sometimes less sweet
- Milk chocolate: softer set, sweeter; often better mixed half-and-half with semi-sweet
Troubleshooting: when it’s grainy, too soft, or oily
People often blame the recipe, but the fix is usually technique or cooling. Here’s how I’d diagnose it quickly.
- Grainy texture: heat was too high, or chocolate seized slightly. Next time use lower heat and stir gently. If it’s only mildly grainy, serving at room temp can make it feel smoother.
- Too soft to slice: not enough chill time, or lots of add-ins. Chill longer; if it still won’t set, freeze 20–30 minutes, then cut, then return to fridge.
- Oily layer: chocolate overheated or separated. Next time melt slower; consider using a better-quality chip or chopped bar chocolate that melts more evenly.
- Dull flavor: add a pinch more salt, or include vanilla. Chocolate can taste flatter when served very cold.
If you’re trying to make this dairy-free or lower sugar, the condensed milk substitution is where most “easy fudge” recipes stop being easy. It’s doable with specialty products, but results vary a lot by brand.
Key takeaways (what actually matters)
- Low heat wins, most texture issues start with overheating.
- Condensed milk fudge is the reliable easy path when you want consistent set and clean slices.
- Give it time to chill; cutting early creates most “it didn’t work” moments.
- Keep add-ins reasonable so the base can set firmly.
Conclusion: a fudge routine you can repeat
If you want a best fudge recipe chocolate easy option you can repeat without second-guessing, stick to gentle heat, keep the ingredient list tight, and treat cooling like part of the recipe, not an afterthought. Make one clean batch with the base formula, then start experimenting with one add-in at a time so you know what changed.
Action step: line your pan and measure everything before you turn on the stove, then plan a real chill window so you’re not tempted to slice early. Your future self, and your knife, will thank you.
FAQ
- Why is my easy chocolate fudge grainy even though I used condensed milk?
It often comes from overheating the chocolate or stirring too aggressively while it’s hot. Keeping the heat low and stirring slowly until just melted usually improves the texture. - Can I use chocolate bars instead of chocolate chips?
Yes, chopped bars can work well and sometimes taste richer, but they melt fast, so keep heat low and stir steadily. If the bar has very high cocoa butter, the fudge may feel a bit softer. - How long does fudge need to chill before cutting?
Many batches firm up around 2–3 hours, but thicker layers or warm kitchens can take longer. If the center dents when pressed, it needs more time. - Do I have to refrigerate fudge?
A lot of homes keep fudge at cool room temperature for short periods, but if your kitchen runs warm, you used dairy-rich ingredients, or you’re gifting it, refrigerating is often the safer and cleaner option. - How do I cut fudge into neat squares?
Lift it out with parchment, warm your knife under hot water, wipe dry, and slice in one firm motion. Re-warm and wipe between cuts for sharp edges. - Can I freeze chocolate fudge?
Usually yes. Wrap tightly to avoid freezer odors, then thaw in the fridge and let it sit briefly at room temp for the best bite. - What mix-ins are most likely to ruin the set?
Watery ingredients and large amounts of sticky add-ins can soften the texture. Dried fruit can work in small amounts, but it’s safer to start with nuts or crushed candy.
If you’re making fudge for holiday boxes, bake sales, or just want a more “set-and-forget” workflow, it can help to use a repeatable prep checklist and a tested ingredient lineup so each batch behaves the same way, especially when you scale up.