
bread crumbs homemade work best when you treat them like a pantry ingredient you’re building on purpose, not an afterthought you blitz in a hurry. If your crumbs keep turning out gummy, dusty, or oddly stale, it’s usually not the bread, it’s the moisture level and the grind.
Fresh crumbs can make a weeknight chicken cutlet crispier, stretch a meatball mix without turning it dense, and give casseroles that golden top people fight over. The payoff is real, and it takes less time than most people expect once you know the “dry a little, then grind” rhythm.
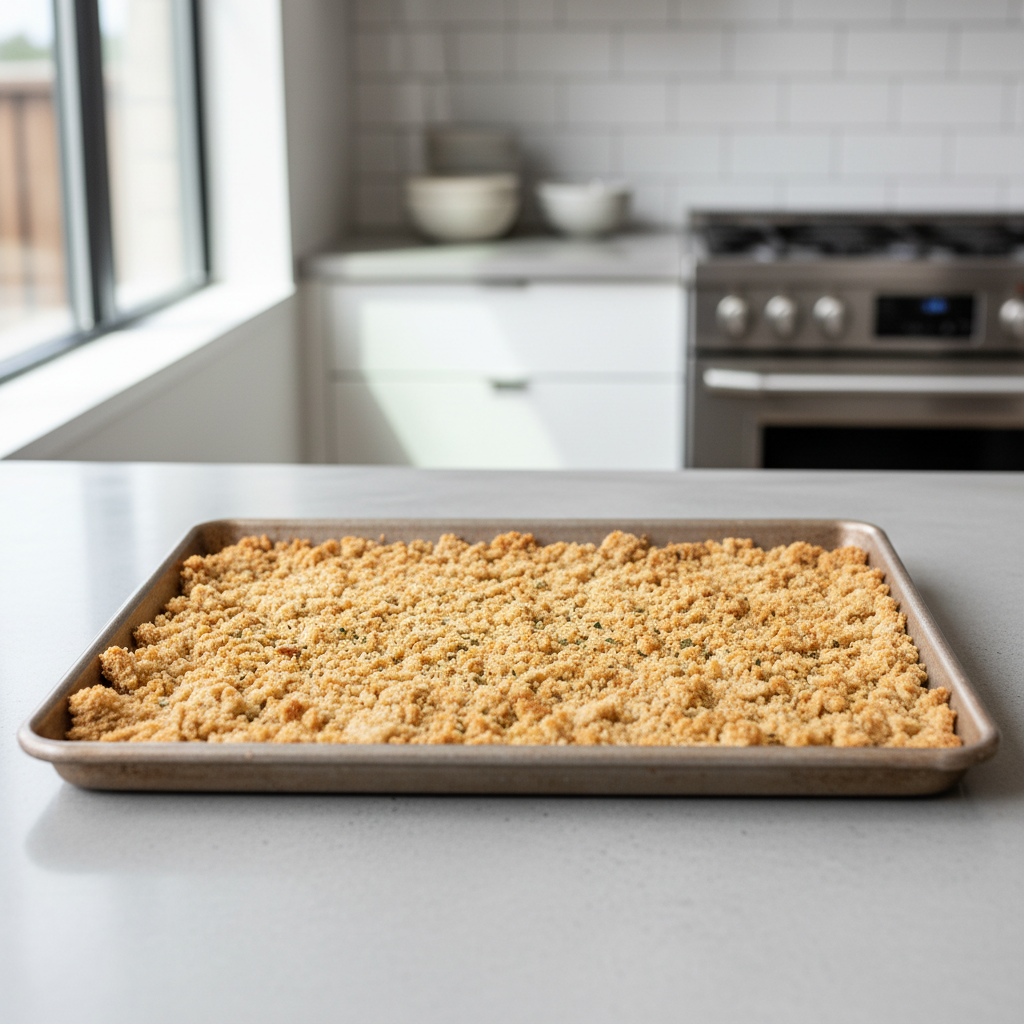
This guide covers two styles, fresh and dried, plus a quick way to decide which one you actually need, storage that keeps flavor intact, and a few small upgrades that make homemade crumbs taste “intentional.”
Fresh vs. dried bread crumbs: which one should you make?
Most recipe frustration comes from using the wrong type. Fresh crumbs behave like soft bread, dried crumbs behave like a crisp coating.
- Fresh bread crumbs: moister, tender, slightly chewy. Best for meatballs, meatloaf, crab cakes, stuffing, and binding where you want softness.
- Dried bread crumbs: crisp, light, and better for breading and crunchy toppings. Best for chicken parm, schnitzel, baked mac and cheese topping, and air-fryer coatings.
If a recipe says “bread crumbs” and doesn’t specify, look at the job: binding usually wants fresh, coating usually wants dried. When in doubt, dried is more forgiving because you can always add moisture later.
Why homemade crumbs sometimes taste “off” (and how to fix it)
If your bread crumbs homemade taste flat or turn soggy fast, it’s commonly one of these issues.
- Too much moisture left in the bread: crumbs clump, breading falls off, topping steams instead of browns.
- Wrong bread for the task: enriched sandwich bread can go sweet and soft; super-crusty bread can grind unevenly.
- Over-processing: a long blitz turns crumbs into powder, which drinks oil and tastes heavy.
- Old fridge bread flavors: bread stored uncovered can pick up odors, especially near onions or leftovers.
Fixes are simple: dry the bread briefly before grinding, pulse instead of running the processor continuously, and use bread that still tastes good on its own.
Quick self-check: what kind of crumbs do you need today?
Before you start, answer these fast questions. They’ll save you from making the “wrong” crumbs and then trying to rescue dinner.
- Making meatballs, meatloaf, or crab cakes? Choose fresh crumbs.
- Breading cutlets or fish? Choose dried crumbs (or panko-style).
- Need a casserole topping that stays crunchy? Choose dried, and toast with a little oil or butter.
- Only have frozen bread? You can still do either, but for dried crumbs, thaw then dry in the oven so you don’t get icy clumps.
If you’re still torn, make a small batch of dried crumbs. They store longer, and you can rehydrate them with a splash of milk or broth when you need a binder.
Fresh homemade bread crumbs recipe (the one you’ll actually repeat)
Ingredients
- 4 to 6 slices bread (about 4 cups loosely torn), any style you like
- Optional: 1 to 2 tsp olive oil or melted butter (more for topping-style crumbs)
- Optional: pinch of salt
Steps
1) Choose bread that tastes good. Day-old is perfect, but not required. If the bread smells “fridgey,” use it for something else.
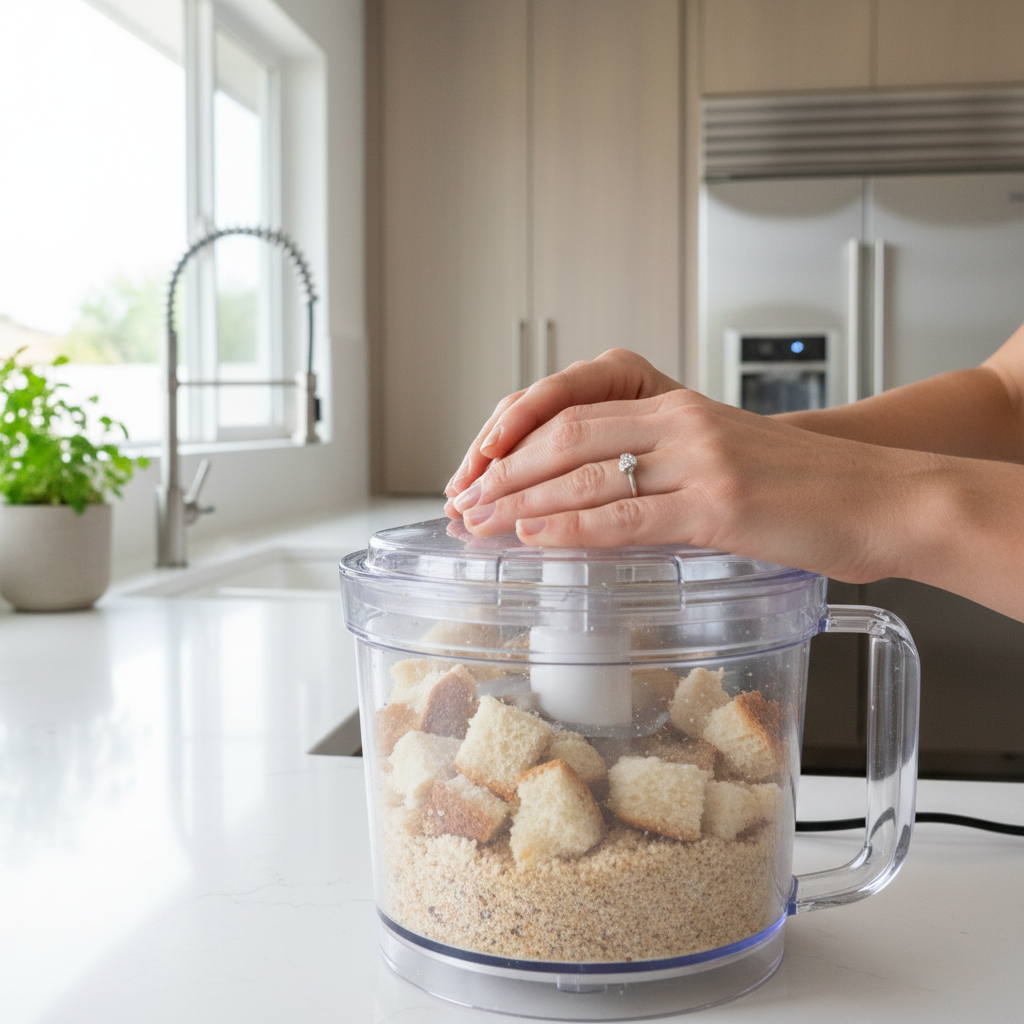
2) Tear, don’t cube, if you want an even grind. Rough tears feed into the blade more naturally, fewer dense chunks.
3) Pulse in short bursts. Aim for the texture you need: coarse for stuffing, medium for meatballs, fine for delicate patties. Stop early; you can always pulse twice more.
4) Use immediately or chill briefly. Fresh crumbs are best same day. If you need them later, refrigerate up to 2 days in a sealed container, but expect them to compact.
For binding, don’t “season the crumbs to death.” Let the recipe’s aromatics do the work, and use crumbs mainly for structure.
Dried homemade bread crumbs (crisp, pantry-friendly)
This is the version most people mean when they want a dependable, always-ready crumb. It also solves the sogginess problem for breaded foods.
Oven method (reliable, hands-off)
- Heat oven to 275°F.
- Spread torn bread on a sheet pan in a single layer.
- Bake 10–20 minutes, stirring once or twice, until dry to the touch. You’re drying, not “browning.”
- Cool fully, then pulse into crumbs.
Skillet method (fast, good for small batches)
- Tear bread, pulse into coarse crumbs.
- Toast in a dry skillet over medium-low heat, stirring often, until dry and lightly golden.
Key point: cool before you store. Warm crumbs trap steam, and that steam turns into a stale, clumpy mess later.
Texture guide + best uses (table)
Texture is the difference between “restaurant-crisp” and “why is this greasy.” Use this as a practical shortcut.
| Crumb texture | How to make it | Best uses |
|---|---|---|
| Coarse | Few quick pulses, stop early | Stuffing, gratins, crunchy toppers |
| Medium | Pulse 6–10 times | Meatballs, meatloaf, crab cakes |
| Fine | More pulses, but avoid powder | Delicate patties, thin coatings (often with flour/egg) |
| Panko-style (chunky, airy) | Dry first, then pulse minimally | Cutlets, baked crispy chicken, air-fryer breading |
Storage, freezing, and food-safety reality checks
bread crumbs homemade can be safe and convenient, but storage matters because moisture invites mold faster than most people expect.
- Fresh crumbs: refrigerate in a sealed container and use within 1–2 days, freeze for longer storage.
- Dried crumbs: store airtight at room temp in a cool cabinet, or freeze for maximum freshness.
- Freezer tip: freeze in thin, flat bags so you can break off what you need without thawing the whole batch.
According to USDA Food Safety and Inspection Service, you should discard foods that show mold rather than trying to salvage them. If crumbs smell musty, look clumped, or show any spotting, it’s not worth the risk.
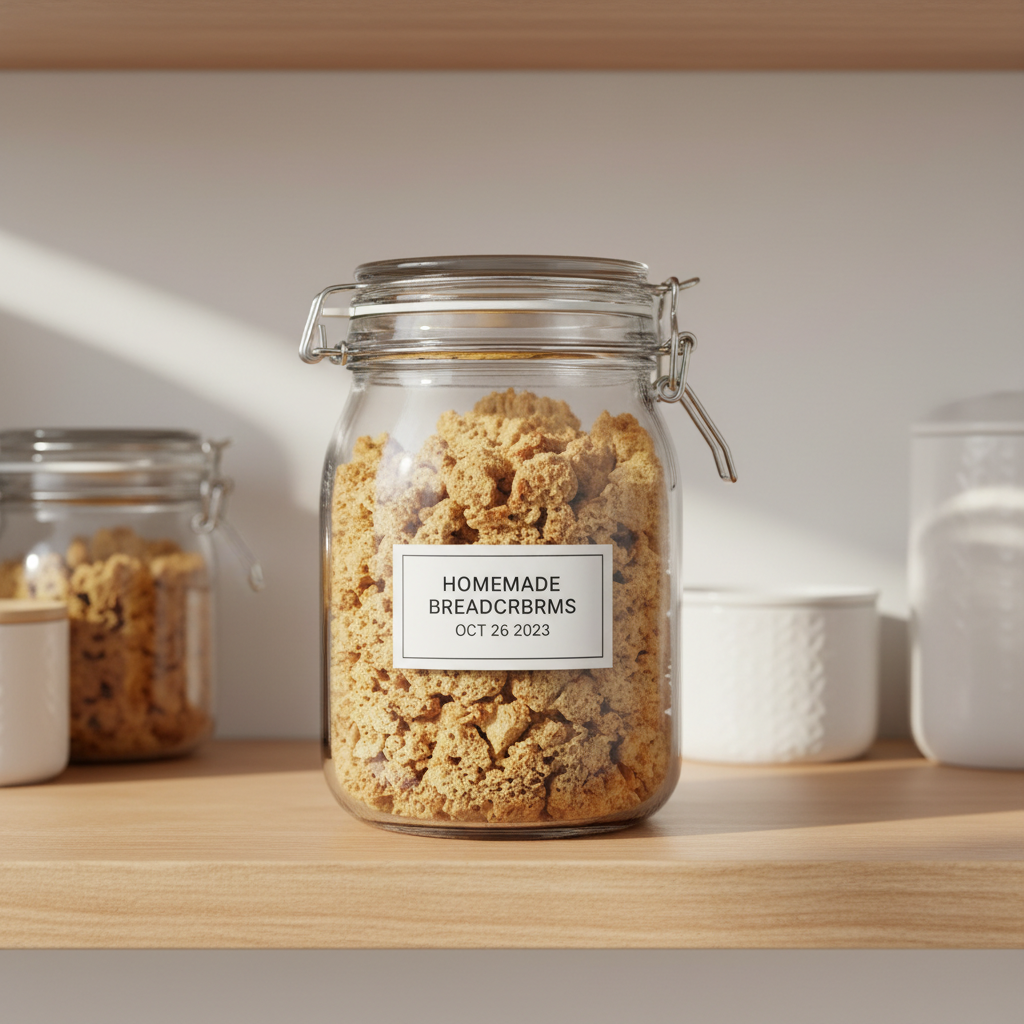
If you’re cooking for someone with allergies or medical dietary needs, label your container with the bread type. Cross-contact can happen in shared kitchens, and it’s better to be a little cautious.
Practical upgrades: make them taste like you meant it
You don’t need a long ingredient list. A couple of small choices go a long way.
- Garlic and herb crumbs: add dried parsley, oregano, garlic powder, and a pinch of salt after grinding (dried crumbs hold seasonings more evenly).
- Parmesan crumbs: mix in finely grated Parmesan right before using for topping or breading, store plain crumbs and add cheese as needed.
- Lemon-pepper crumbs: zest a lemon into crumbs right before breading fish, don’t store with zest since oils fade.
- Butter-toasted topping: toast dried crumbs in butter until golden for mac and cheese or roasted veggies.
Key takeaways: dry enough for your task, pulse for texture not powder, cool before storing, and season at the point of use so flavor stays bright.
Conclusion: a simple habit that upgrades a lot of meals
bread crumbs homemade are one of those small kitchen habits that quietly improves everything from weeknight cutlets to comfort-food casseroles. Make fresh crumbs when you need tenderness, keep a jar of dried crumbs when you want crunch, and don’t skip the cooling step before storage.
If you want an easy next move, dry a half-sheet pan of bread at 275°F, grind it medium, then freeze half. Next time a recipe calls for “bread crumbs,” you won’t have to guess or settle.
FAQ
How do I make homemade bread crumbs without a food processor?
You can grate dried bread on a box grater, or put bread in a zip-top bag and crush it with a rolling pin. It takes a bit longer, but texture control is actually great with this method.
Can I use fresh bread, or does it need to be stale?
Fresh bread works for fresh crumbs right away. For dried crumbs, fresh bread usually needs a little oven drying so it doesn’t clump when you grind it.
Why do my bread crumbs turn out like powder?
Over-processing is the common culprit. Pulse in short bursts and stop when you see small, distinct pieces. If you accidentally go too fine, use the powdery batch for binding rather than breading.
How long do homemade bread crumbs last?
It depends on moisture and storage. Fresh crumbs are short-lived in the fridge, while fully dried crumbs last longer in an airtight container, and freezing is the safest way to keep quality steady.
Can I make gluten-free bread crumbs homemade?
Yes, use your favorite gluten-free bread and follow the same dry-then-grind approach. Texture varies by brand, so you may need a slightly longer drying time to get a crisp crumb.
What’s the best bread for crispy breading?
Many cooks like a sturdy loaf with a drier crumb once baked and cooled, or a panko-like grind from dried bread. The bigger factor is dryness, not the “fanciest” bread.
Do I need to toast crumbs before putting them on casseroles?
Usually, yes if you want reliable crunch. Toasting dries and browns the crumbs so they don’t steam on top of a creamy dish, especially in shorter bake times.
If you’re trying to cut waste, build a “crumb routine” around the bread you already buy: freeze odds and ends, dry a batch when the bag gets close to the end, and keep one container labeled for quick weeknight dinners.