
How to make whipped cream heavy cream sounds simple, but most “fails” come from two things people underestimate, temperature and timing.
If you want fluffy, glossy whipped cream that holds long enough to top pie, coffee, or berries, you need a repeatable method, not guesswork. The good news, once you nail the cues (soft peaks, stiff peaks, grainy), it becomes almost automatic.
Below, you’ll get a clear ratio, a quick decision checklist (hand whisk vs mixer, sweetened vs unsweetened), and fixes for common problems like runny cream or butter bits. I’ll also include a small troubleshooting table you can bookmark.
What heavy cream you need (and why fat percentage matters)
Whipped cream works because fat globules in cream trap air and create a stable foam. When the fat level is too low, the structure struggles to hold, which is why “it whipped yesterday but not today” often traces back to the carton you grabbed.
According to the U.S. Food and Drug Administration (FDA), heavy cream (also called heavy whipping cream) typically contains not less than 36% milkfat. That fat range is a big reason heavy cream whips more reliably than lighter creams.
- Best choice: Heavy cream or heavy whipping cream (look for ~36% milkfat).
- Works, but less forgiving: Whipping cream (often lower fat, may whip softer and deflate sooner).
- Usually won’t whip: Half-and-half, coffee creamer, most plant “creamers” unless labeled whip-ready.
One more real-world note, ultra-pasteurized heavy cream can whip fine, but it sometimes behaves a bit differently by brand. If your peaks seem slower to form, it’s not your imagination, just give it a little more time and keep everything cold.
Tools and setup that make whipping easier
You can get great results with a whisk, a hand mixer, or a stand mixer. The “best” option is the one that matches your batch size and patience level.
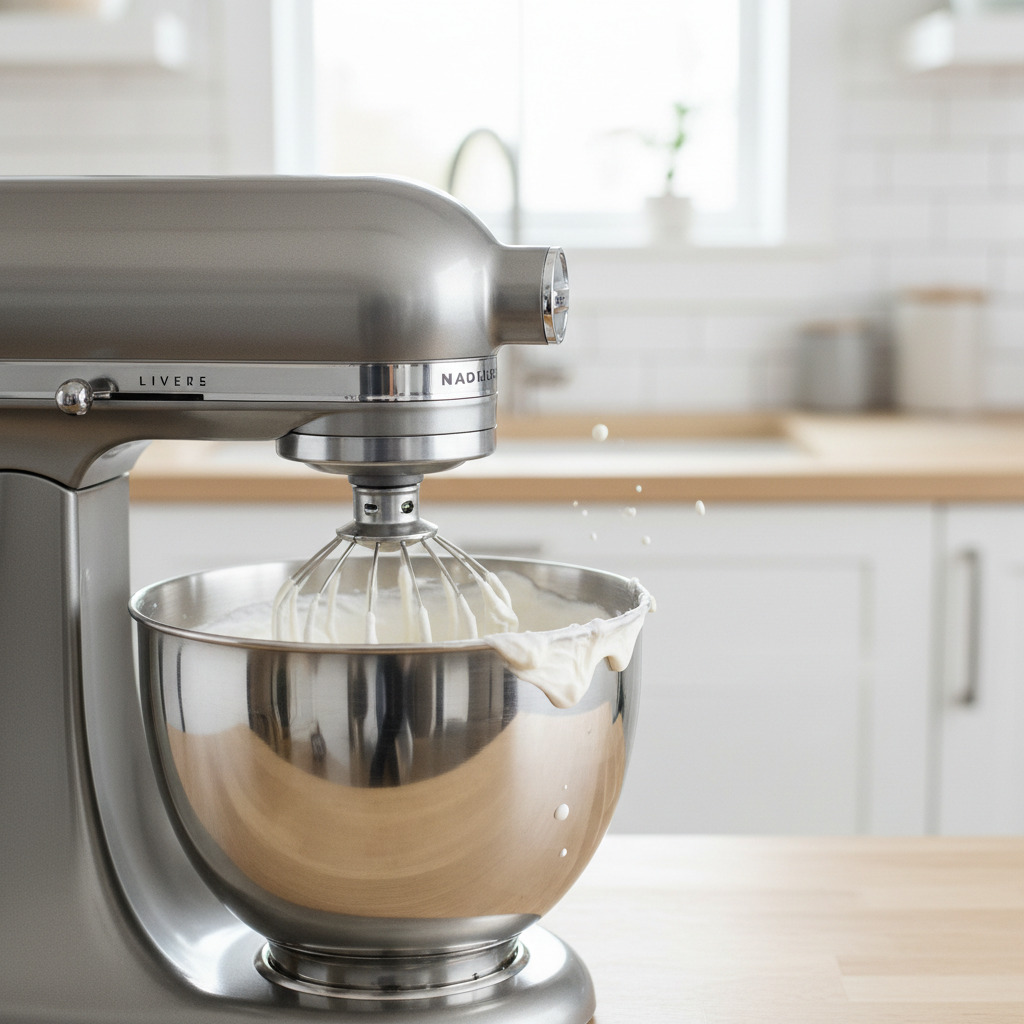
Cold matters more than people think. Warm cream whips slowly, then suddenly flips to grainy. If you only change one habit, chill your gear.
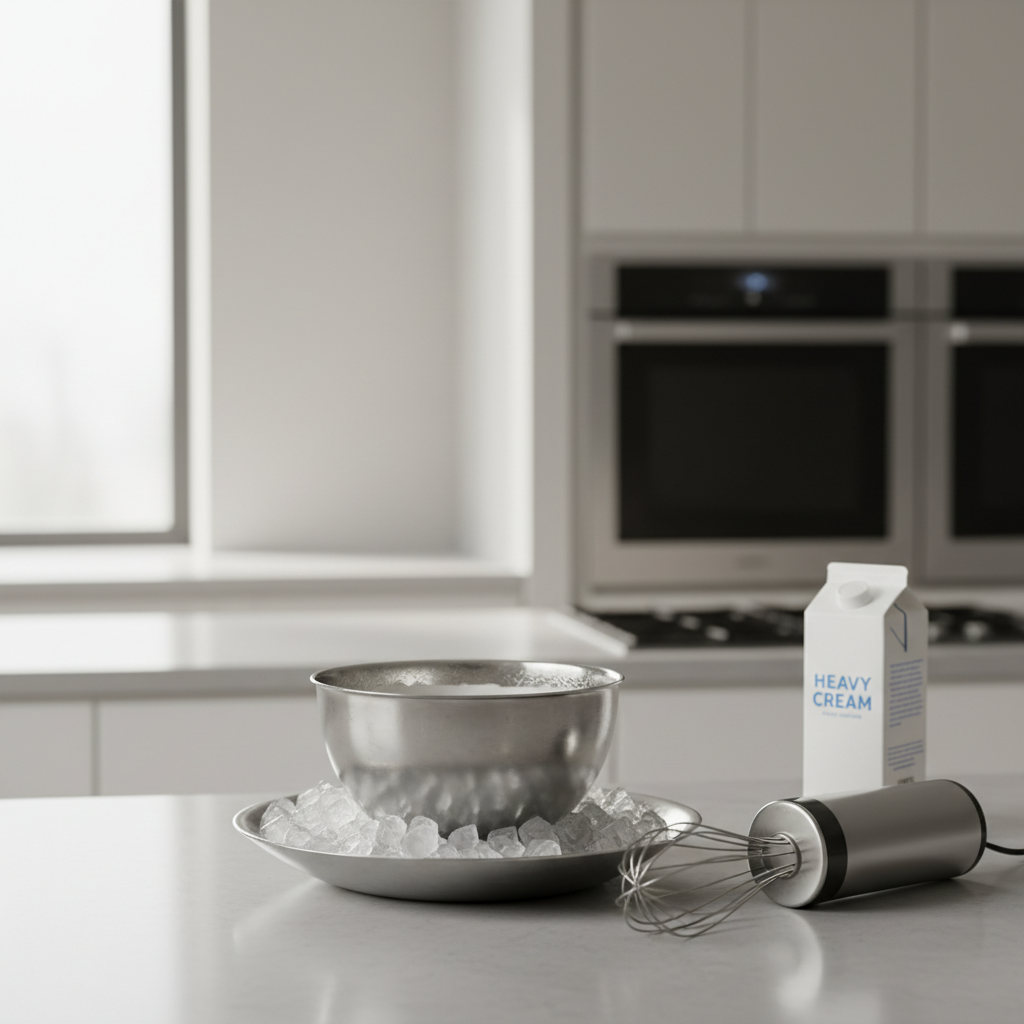
- Chill the bowl and beaters: 10–15 minutes in the freezer helps.
- Use a metal bowl if you have one: It stays cold longer than plastic.
- Keep the cream refrigerated until the last second: Don’t let it sit on the counter “while you prep.”
Batch size tip, very small amounts (like 1/4 cup) can be annoying in a stand mixer because the whisk might not catch it well. For small batches, a hand mixer or whisk often feels easier.
Core method: step-by-step whipped cream (sweetened or not)
Once you know the cues, how to make whipped cream heavy cream becomes less like “a recipe” and more like watching texture and stopping at the right moment.
Basic ratio (a reliable starting point)
- 1 cup cold heavy cream
- 1–2 tablespoons powdered sugar (optional, for sweetness and a touch of stability)
- 1/2 teaspoon vanilla extract (optional)
Powdered sugar dissolves fast and tends to keep whipped cream smoother than granulated sugar. If you prefer less sweet, start with 1 tablespoon, you can always add a little more.
Step-by-step
- Start cold: Pour cream into the chilled bowl.
- Begin on medium speed: If using a mixer, medium reduces splatter and builds smaller, more stable bubbles.
- When it thickens, add sugar/vanilla: Add once the cream looks slightly foamy and starts leaving faint trails.
- Increase to medium-high: Watch closely, this is where it changes fast.
- Stop at your target peak: Soft, medium, or stiff depending on use.
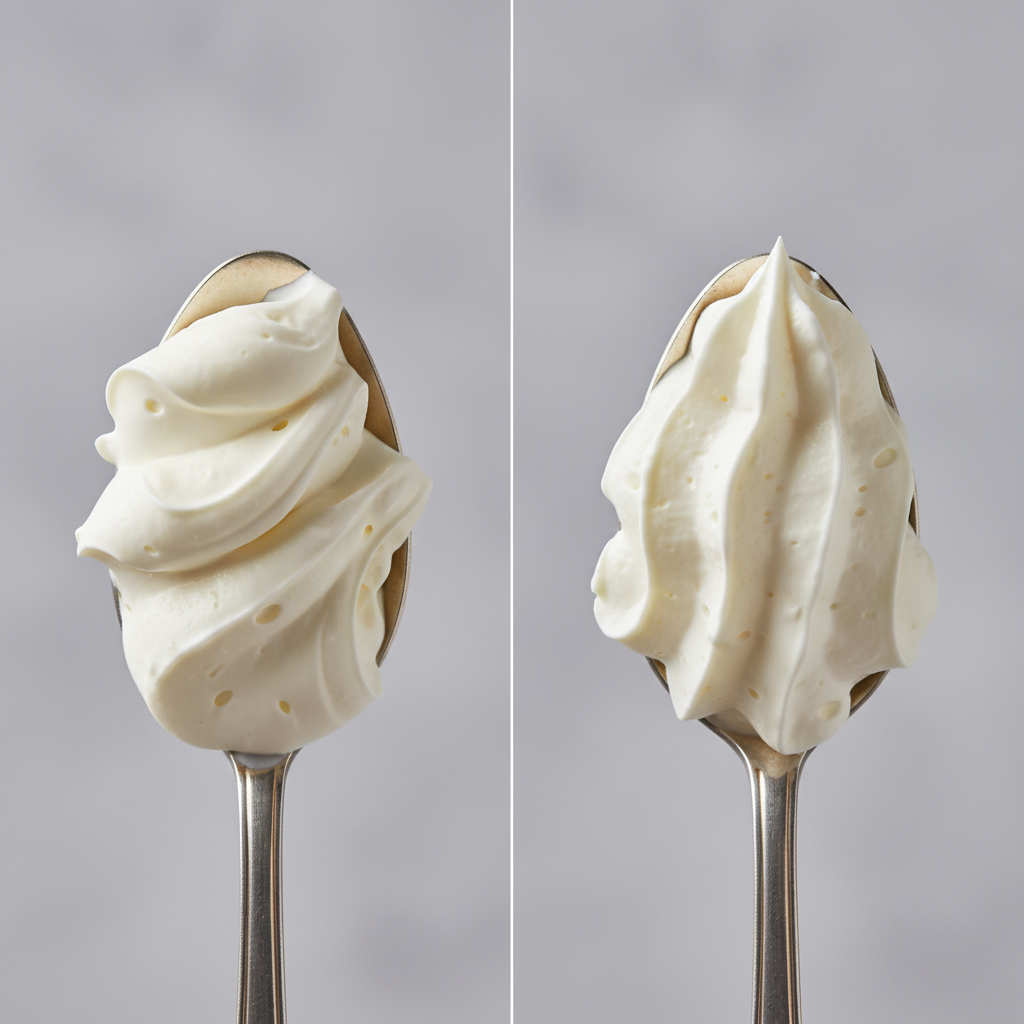
Peak guide: Soft peaks slump gently, great for folding into desserts. Medium peaks hold a shape but curl at the tip, nice for shortcakes. Stiff peaks stand upright and look more defined, better for piping and topping that needs to hold.
Quick self-check: which peak should you aim for?
This is where most people go wrong, they whip to stiff peaks for everything, then wonder why it tastes a bit dense or starts turning grainy. Match the peak to the job.
- For coffee, hot cocoa, Irish coffee: Medium peaks so it floats and melts nicely.
- For berries, pancakes, waffles: Medium to stiff peaks depending on how long it will sit.
- For frosting a cake: Stiff peaks, and consider a stabilizer if it must stand for hours.
- For mousse-style desserts: Soft to medium peaks so it folds without clumping.
If you’re unsure, stop at medium peaks, check texture, then give it another 10–15 seconds if needed. That tiny pause saves a lot of “oops, I made butter.”
Troubleshooting table: runny, grainy, or over-whipped
Most issues have a boring fix, colder tools, slightly slower speed, or stopping earlier. Here’s a practical cheat sheet.
| Problem | What it usually means | What to do |
|---|---|---|
| Still liquid after several minutes | Cream too warm, or fat % too low | Chill bowl/beaters, refrigerate cream 15–20 min, confirm it’s heavy cream |
| Soft peaks won’t firm up | Under-whipped, or added sugar too early | Keep whipping in short bursts, add sugar after it foams and thickens |
| Looks curdled or grainy | Over-whipped, fat separating | Try folding in 1–2 tbsp cold cream by hand to smooth; if it’s very grainy, pivot to butter |
| Weeps liquid after sitting | Foam not stable enough for time/heat | Use a stabilizer, keep chilled, avoid topping hot desserts until slightly cooled |
If you’re right on the edge of over-whipped, the “splash of cold cream and fold” trick can bring it back. If you see distinct butter flecks, it’s usually past the point of rescue as whipped topping, and that’s okay, homemade butter is not a bad consolation prize.
How to stabilize whipped cream (when you need it to hold)
If whipped cream needs to sit on a cake table, survive a picnic, or hold piped shapes for a few hours, plain cream and sugar may slump. Stabilizing is common in bakeries for a reason.
Options that fit different comfort levels
- Powdered sugar: Light stabilization, easy, good for casual desserts.
- Cream of tartar: A tiny pinch can help foam stability, though flavor can shift if overused.
- Gelatin (classic “stabilized whipped cream”): Strong hold, great for piping, but needs a careful dissolve-and-cool step.
- Instant pudding mix: Convenient and popular, changes flavor and texture a bit.
Gelatin version, in many kitchens, goes like this: bloom a small amount of unflavored gelatin in cold water, warm just until dissolved, cool until barely fluid, then drizzle in while whipping near soft peaks. If you have dietary restrictions or allergies, check ingredient labels and consider asking a nutrition professional what fits your needs.
Practical tips for flavor, storage, and serving
Once you can reliably whip heavy cream, the fun part is customizing without breaking the texture.
Flavor ideas that usually play well
- Vanilla bean or paste: Strong aroma, visible specks, feels “bakery.”
- Cocoa: Use sifted cocoa plus powdered sugar, add after it thickens.
- Citrus zest: Bright, especially with berries, add near the end.
- Espresso powder: Dissolve in a tiny splash of cream first to avoid grit.
Storage reality check
- Best texture: Fresh, within an hour or two.
- Short-term: Refrigerate in an airtight container; re-whisk briefly if it softens.
- On desserts: Keep chilled, heat and time both encourage weeping.
Freezing whipped cream works for some uses, like dollops on parchment for hot drinks, but the texture after thawing can be a little different. It’s fine, just don’t expect the exact same silky mouthfeel.
Key takeaways (so you don’t have to reread)
- Use real heavy cream and keep it cold, temperature is the quiet deal-breaker.
- Add sugar after the cream starts thickening, it tends to whip more smoothly.
- Stop at the peak you need, medium peaks solve most everyday topping jobs.
- For make-ahead desserts, stabilize so it holds longer without weeping.
Conclusion: a simple method, plus the confidence to stop on time
How to make whipped cream heavy cream comes down to cold tools, the right fat content, and paying attention during the last minute when peaks form fast. If you practice once or twice with the peak guide nearby, you’ll start recognizing the exact moment to stop, which is the difference between cloud-like topping and grainy regret.
Pick one small upgrade for your next batch, chill the bowl, switch to powdered sugar, or aim for medium peaks on purpose, and your whipped cream will feel a lot more consistent.