
Pretzel recipes can feel weirdly unpredictable at home, one batch turns out chewy and salty, the next comes out pale, bready, or with that “missing pretzel flavor.” The good news is most problems trace back to a few controllable steps: hydration, shaping tension, the dip, and how you salt and bake.
If you want homemade salty pretzels that taste closer to a mall pretzel or a solid bakery version, you don’t need a culinary degree, you need a repeatable method and a couple of small choices made on purpose. This guide gives you a core dough you can trust, plus variations and troubleshooting that match real kitchens.
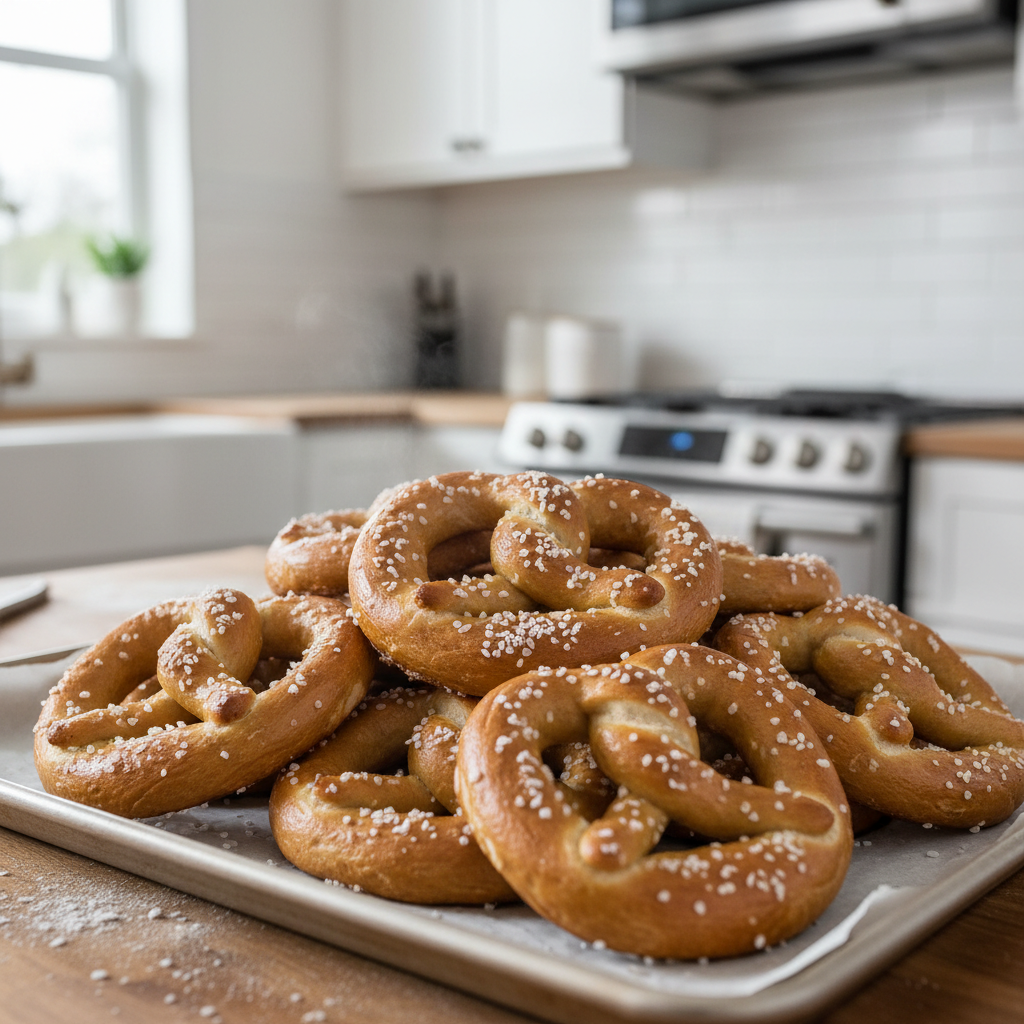
One quick misconception to clear up: the dip is not optional if you want that classic pretzel look and taste. Many home bakers skip it or “brush with butter and hope,” but the dip is what drives the brown crust and that lightly alkaline snap.
Along the way, you’ll also see how to decide between baking soda and food-grade lye, how to keep salt from melting off, and which tweaks matter when you bake in a dry winter kitchen versus a humid summer one.
What makes a pretzel taste like a pretzel
Homemade dough can be perfect and still taste “like bread” if a few pretzel-specific elements are missing. Here’s what usually creates that signature result.
- Alkaline dip: baking soda or lye changes surface pH, improving browning and the pretzel aroma.
- Proper shaping tension: a snugly shaped rope gives you the chewy bite instead of a soft roll texture.
- Enough salt at the right time: pretzel salt or coarse kosher salt sticks best when the surface is dipped, drained, and salted promptly.
- Hot bake: pretzels like a relatively high oven so they set fast and brown evenly.
According to the USDA, yeast dough should be handled with basic food safety in mind, clean surfaces, appropriate storage, and not leaving perishable toppings out too long. That sounds obvious, but it’s easy to forget when you’re doing multiple rises and dips.
A reliable base dough for salty homemade pretzels
This is the everyday dough I’d recommend for most home cooks because it balances chew with ease. It also works for multiple shapes, bites, knots, and classic twists.
Ingredients (makes 8 medium pretzels)
- 3 1/2 cups (420 g) all-purpose flour, plus a little for dusting
- 1 1/2 cups (360 g) warm water, about 95–105°F
- 2 1/4 tsp instant yeast (or active dry, see note below)
- 1 tbsp brown sugar (or barley malt syrup if you have it)
- 1 1/2 tsp fine salt
- 2 tbsp unsalted butter, melted (optional, for a softer bite)
- Pretzel salt, coarse kosher salt, or flaky salt for topping
Yeast note: If you use active dry yeast, dissolve it in the warm water with the sugar, wait until foamy, then mix.
Mix and rise
- Mix water, yeast, sugar, salt, and butter, then add flour and stir until shaggy.
- Knead 6–8 minutes by hand or 4–5 minutes in a mixer, until smooth and springy.
- Cover and rise until puffy, typically 45–75 minutes depending on room temp.
You’re not chasing a dramatic “doubles in size” moment every time, the dough just needs to feel alive and slightly airy. If it’s winter and your kitchen runs cold, give it time rather than adding extra yeast.
The dip: baking soda vs lye (and when each makes sense)
This is where most pretzel recipes separate. Baking soda is more forgiving, lye gives the most classic crust and flavor, but it demands careful handling.
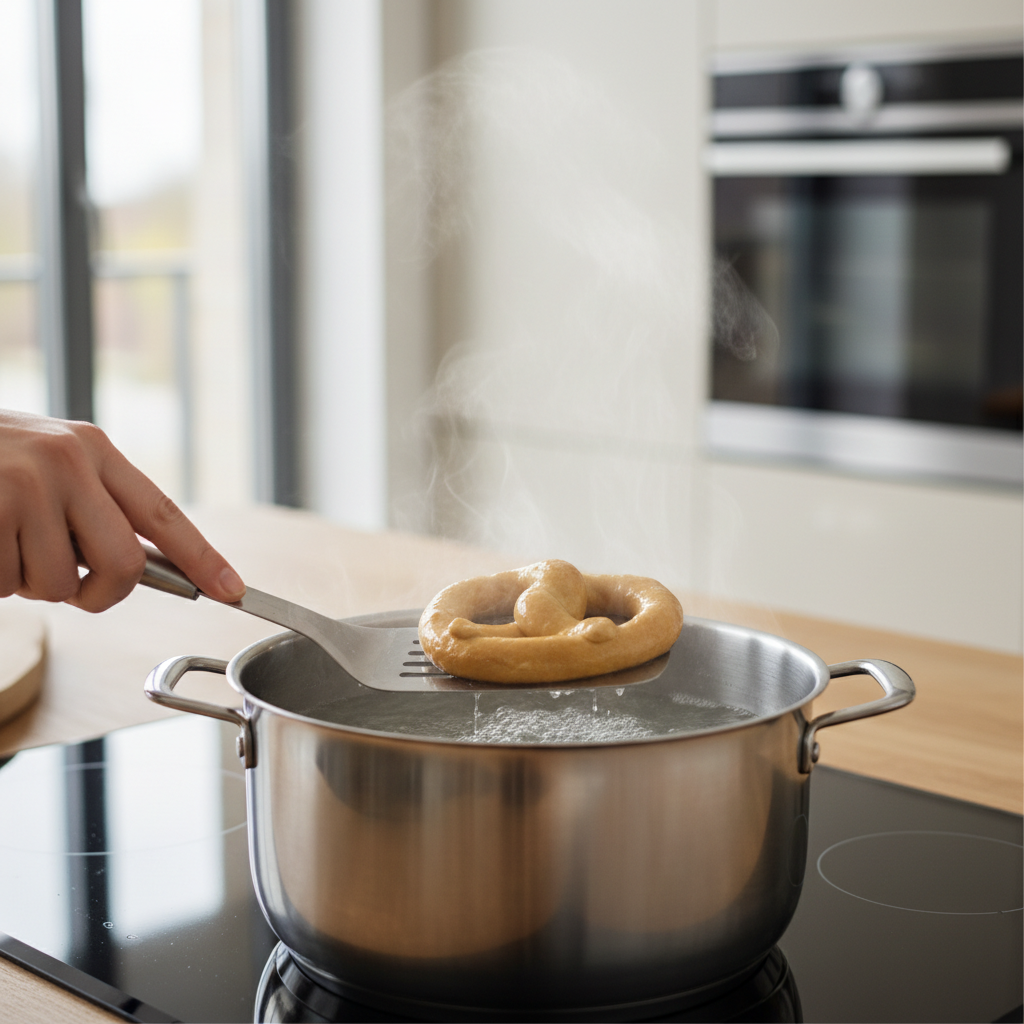
Option A: Baking soda bath (recommended for most homes)
- Bring 8 cups water to a gentle simmer.
- Add 1/2 cup baking soda slowly, it can foam up.
- Dip each pretzel 20–30 seconds, flip once, drain well.
If you want a little extra color, some bakers “bake” the baking soda first to make it more alkaline. That can help, but it’s not mandatory, especially if you bake hot and salt correctly.
Option B: Food-grade lye bath (best traditional result, higher caution)
- Use food-grade sodium hydroxide only, and follow the product label exactly.
- Wear gloves and eye protection, keep kids and pets away.
- Always add lye to water, not water to lye.
According to the CDC, strong alkalis can cause serious burns if mishandled, so this route is for cooks who are comfortable following strict safety steps. If you’re unsure, stick with baking soda and you’ll still get a very good pretzel.
Shaping and baking: the small moves that change everything
The classic twist looks simple, yet the texture depends on how you roll and how much tension you build.
Shaping checklist (quick but important)
- Divide dough evenly, uneven pieces bake unevenly.
- Roll each piece into a rope about 20–24 inches, thicker in the center, tapered ends.
- Twist once, then fold ends down onto the loop, press lightly to adhere.
If your ropes keep shrinking back, the dough needs a 5–10 minute rest. People fight the dough and add flour, then wonder why the pretzels turn dense.
Bake setup
- Oven: 450°F
- Pan: parchment-lined sheet or a silicone mat
- Finish: sprinkle salt right after the dip, then bake 12–15 minutes until deep golden brown
Optional but useful: an egg wash can add shine, but if you’re chasing the classic “pretzel shop” vibe, the dip is doing most of that work anyway.
Salty toppings, finishing butter, and flavor variations
Salt seems straightforward until it slides off, melts, or tastes harsh. Here’s what tends to work in real kitchens.
- Pretzel salt: best crunch, least melting, closest to the classic look.
- Coarse kosher salt: widely available, solid option, go lighter than you think.
- Flaky salt: great flavor, less “pretzel shop” texture, can fall off more easily.
Finish with melted butter right after baking if you like a softer crust and richer aroma, but be honest about what you want. Buttering before baking usually softens the crust too early and can mute browning.
Easy variations that still taste like pretzels
- Everything bagel pretzels: replace salt with everything seasoning after the dip.
- Garlic Parmesan: bake, brush with butter, then toss with grated Parmesan and garlic powder.
- Jalapeño cheddar: press minced pickled jalapeño and shredded cheddar into the top after dipping.
Common problems and quick fixes (use this like a diagnostic)
Most “failed” pretzels are still edible, they just miss the finish. This is the part many pretzel recipes don’t spell out.
| Issue | What it usually means | Fix for next batch |
|---|---|---|
| Pale crust | Dip too weak/short, oven not hot enough | Simmer the bath, dip 20–30 sec, verify oven temp |
| Bready, not chewy | Too much flour, low shaping tension, low bake temp | Use minimal dusting, rest dough, roll tighter ropes, bake hotter |
| Salty in patches | Salt crystals too large or uneven distribution | Use pretzel salt, sprinkle from higher up for even coverage |
| Salt dissolves | Fine salt or high humidity, or pretzels sat too long | Switch to pretzel salt/coarse kosher, salt right before baking |
| Bottoms burn | Dark pan or low rack placement | Use lighter pan, move rack up, double-sheet if needed |
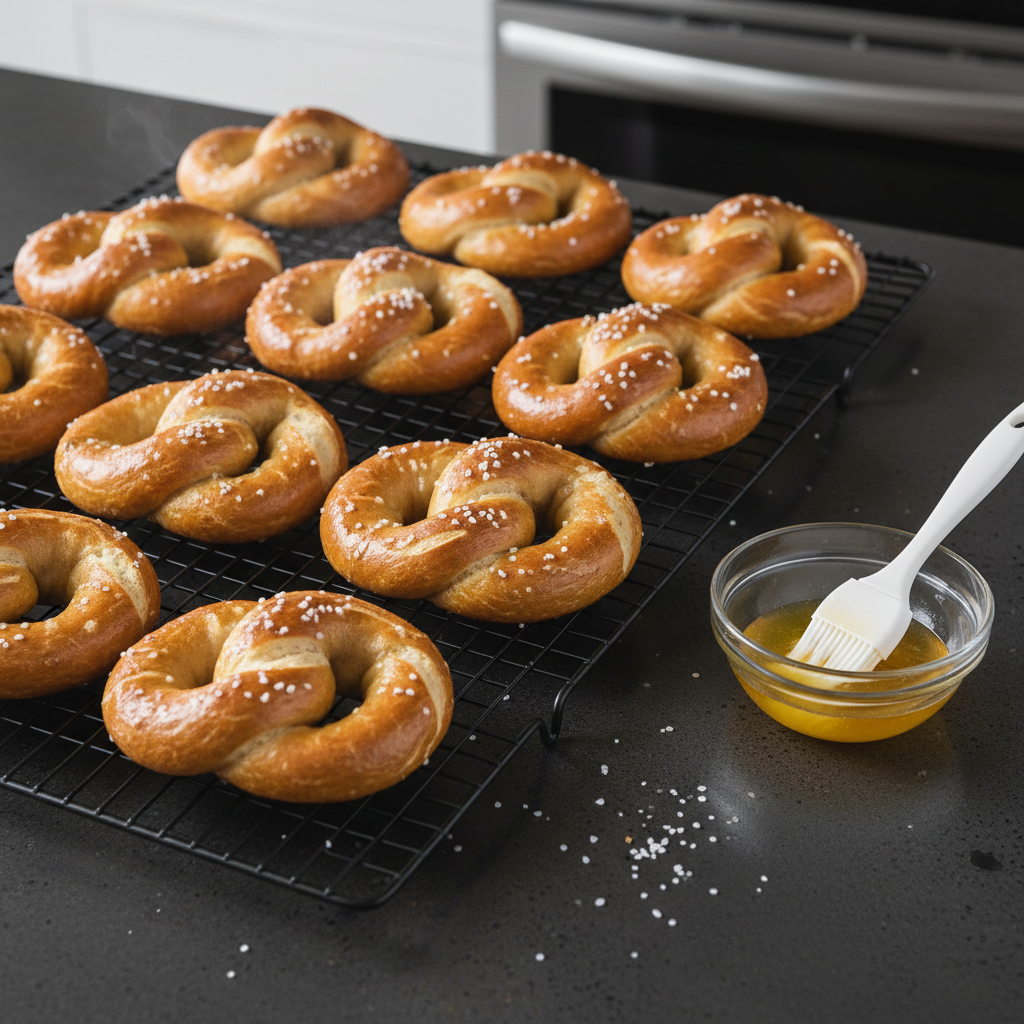
One more thing: if you want that deep brown finish, don’t under-bake out of fear. Pretzels often look “done” at light golden, but the flavor pops a bit later.
Practical game plan: how to make pretzels fit a busy day
People drop pretzel projects because they feel time-sensitive. You can make them more flexible without sacrificing the point of the bake.
Make-ahead options
- Same day: Mix in the morning, rise once, shape and bake later.
- Overnight: After kneading, cover and refrigerate, then bring to room temp before shaping.
- Freeze shaped: Shape and freeze on a tray, bag when solid, thaw slightly, then dip and bake.
If you refrigerate dough, you may need a longer warm-up time, but it often improves flavor. That slow fermentation is subtle, yet noticeable.
Key takeaways (so you remember the parts that matter)
- The dip drives pretzel flavor, baking soda works well for most home cooks.
- Shaping tension changes chew, rest the dough if it fights you.
- Salt timing matters, apply promptly after the dip and bake right away.
- Hot oven, confident bake, deeper brown usually tastes better.
When pretzels go wrong, it’s rarely “bad luck,” it’s usually a small step that drifted. Pick one thing to adjust per batch and you’ll dial in your favorite version faster than you think.
If you want a simple next move, make the base dough once, do the baking soda bath, and take notes on dip time and bake color. That alone solves most home pretzel frustration.
FAQ
Why do my pretzels taste like regular bread?
Most of the time the alkaline dip is too weak, too short, or skipped. A proper baking soda bath plus a hot bake usually brings back that signature pretzel aroma.
Can I make pretzels without a baking soda bath?
You can, but they often come out closer to soft rolls with salt. If you want the classic crust and color, the dip step is the leverage point in most pretzel recipes.
What salt is best for homemade pretzels?
Pretzel salt tends to stay crunchy and visible. Coarse kosher salt works well too, just sprinkle evenly and avoid letting shaped pretzels sit around too long before baking.
How do I keep pretzel salt from falling off?
Salt right after dipping while the surface is still slightly wet, then move straight to the oven. If the pretzels dry out on the tray, the salt has less to grab.
Is lye safe for pretzels?
Food-grade lye is commonly used in traditional pretzel making, but it needs careful handling. If you’re not fully comfortable following safety steps, baking soda is a safer, very workable option.
Why are my pretzels tough?
Over-flouring during shaping and baking too long can both push things toward tough. Use minimal dusting, rest the dough if it resists, and pull the tray once you hit a deep golden brown.
Can I freeze homemade pretzels after baking?
Yes, they freeze reasonably well. Rewarm in the oven to bring back crust texture, microwaving works in a pinch but tends to soften the outside.
What’s an easy dipping sauce for salty pretzels?
Warm beer cheese, mustard, or a simple cheddar sauce are common picks. If you’re watching sodium or have dietary concerns, you may want to adjust salt and talk with a qualified professional.